

Tools & Launchers
360 Game Launcher (Mini)
Made With Python And Claude Ai
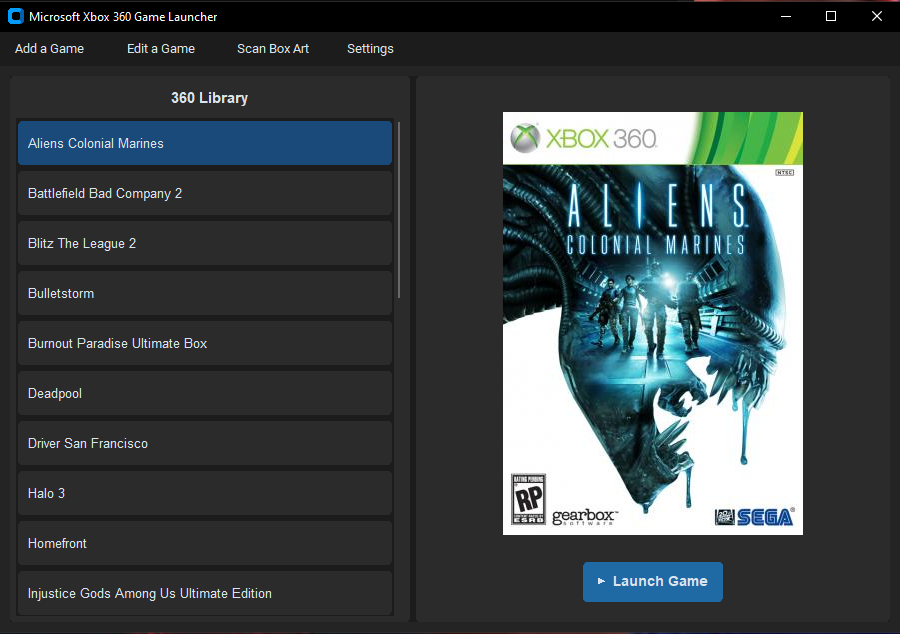
Exe is a (False Positive)
Switch Game Launcher (Mini)
Made With Python And Claude Ai
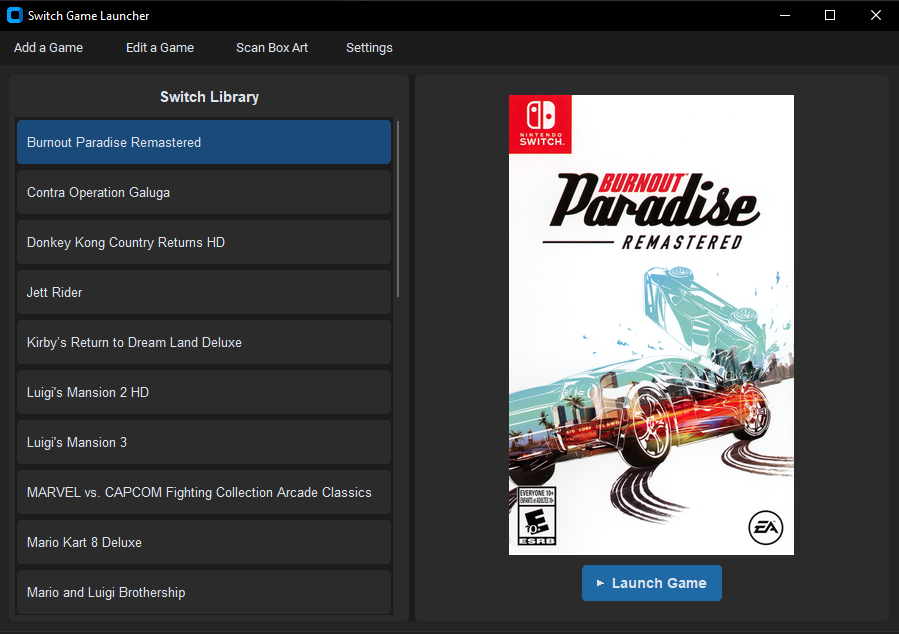
Exe is a (False Positive)
All in One Game Launcher

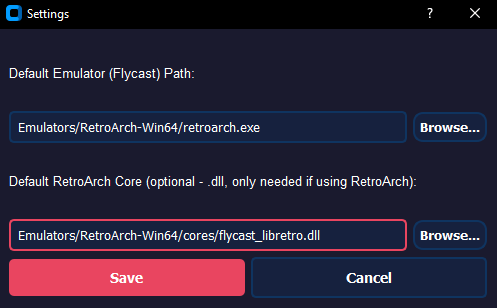
First Time Booting You Will Get This Screen
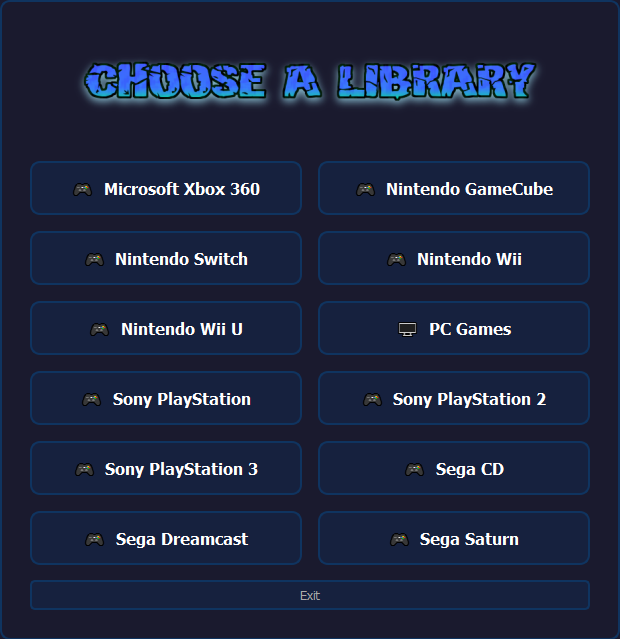
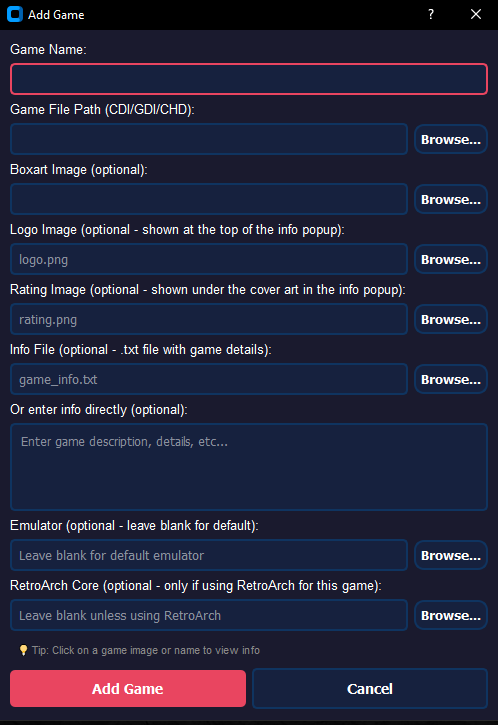
Adding Games is Pretty Easy
(Dreamcast)
Emulator Settings -All Emulators Are Included
You Will Still Need To Setup PS3 , Switch, Wii-U. Firmware & Keys, Bios Included
(Dreamcast)
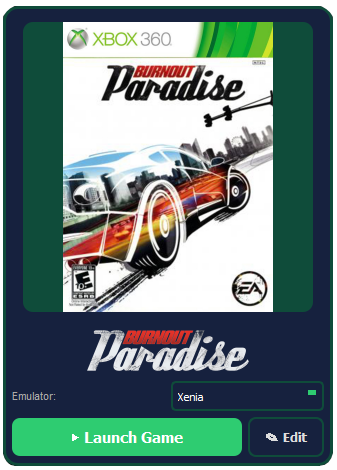
This is How it Will Look After You Add A Game
(360)
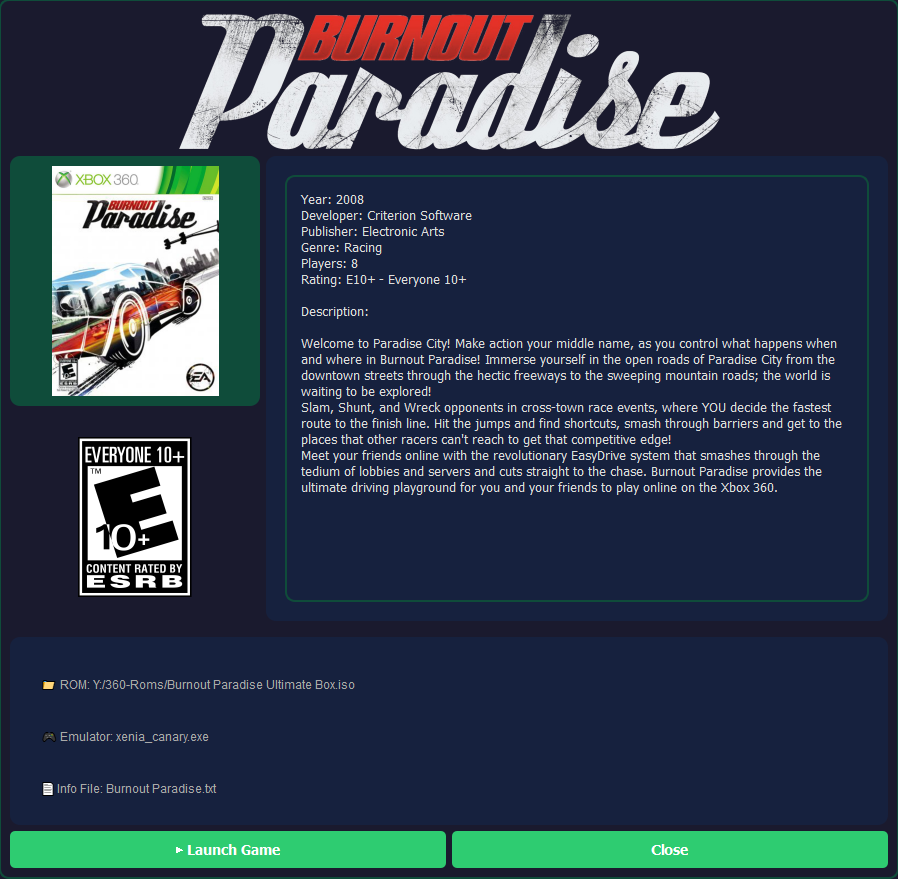
And How It Will Look When You Click on The Box & After You Edit The Info & Add Artwork
(360)
Each Game System Will Have its own Loading Screen
(360)
Exe is a (False Positive)
Now All The json Files Are In it's Own Folder And Added A Roms Folder To Make It Standalone
Made With Python & Claude Ai

PC Games Launcher + Edit
Made With Python Custom TKinter & Claude Ai
Updated 07/14/2026
Python App That Launches Your PC Games (Bat Files)
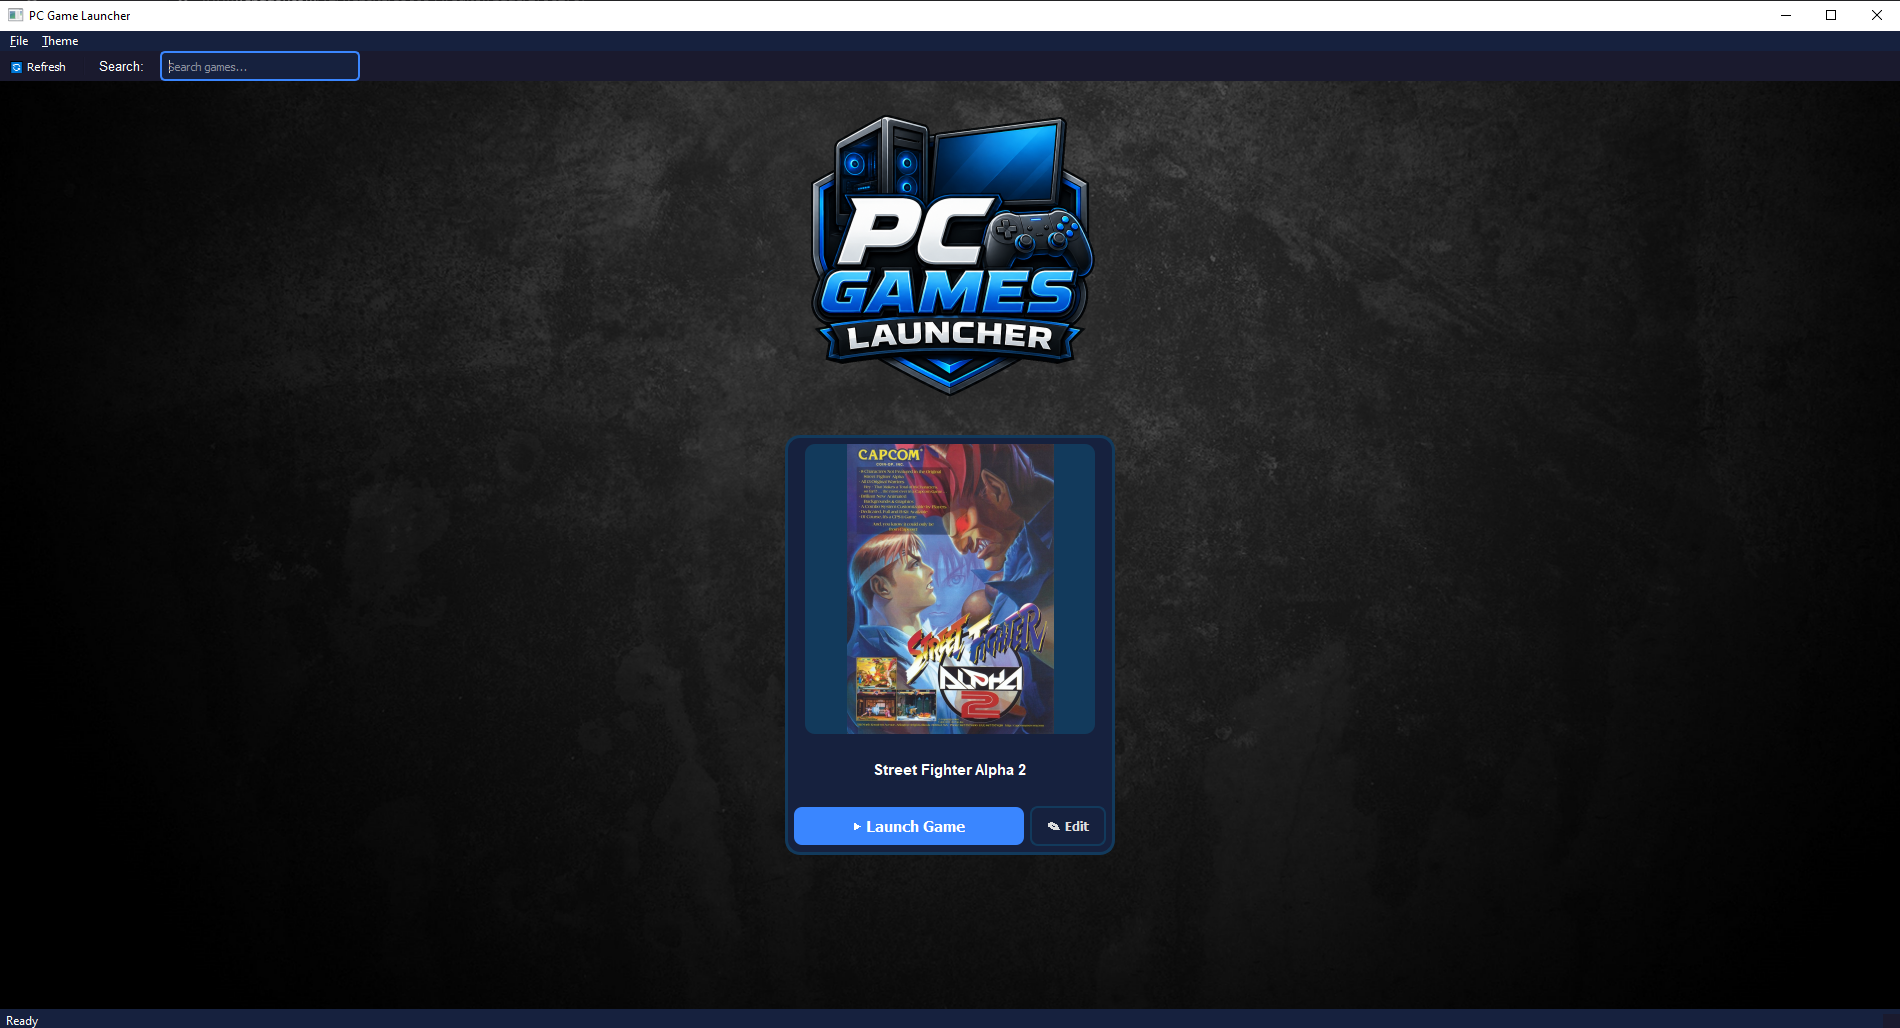
Game Info When You Click on The Game Cover
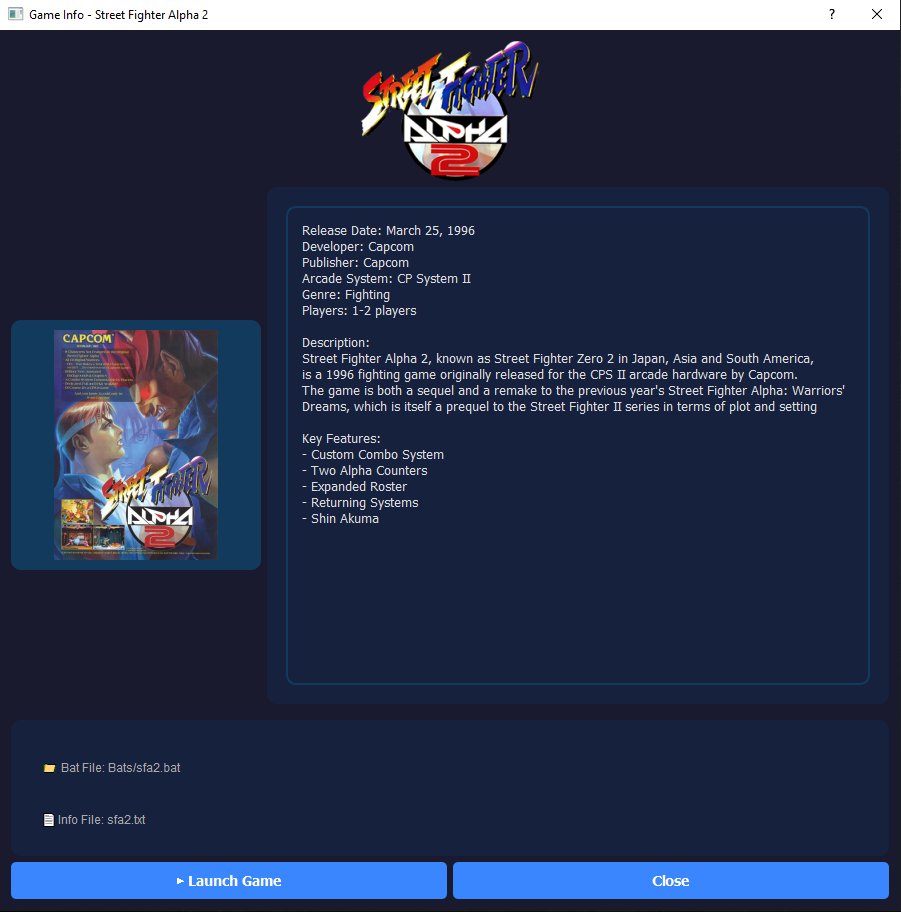
Edit Game Info
Exe is a (False Positive)
Game Launcher + Edit
Made With Python Custom TKinter & Deepseek Ai
Updated 07/12/2026
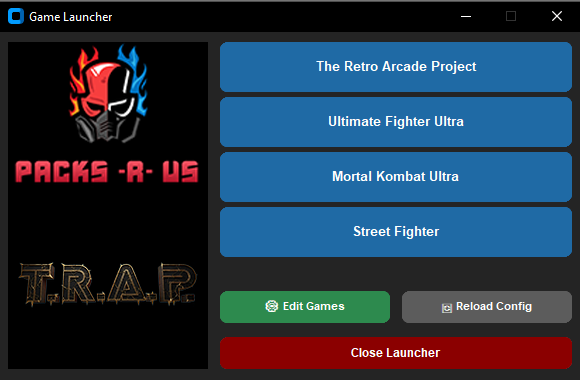
You Can Change The Splash Screen in The Data Folder
Edit Button Names & bat Files
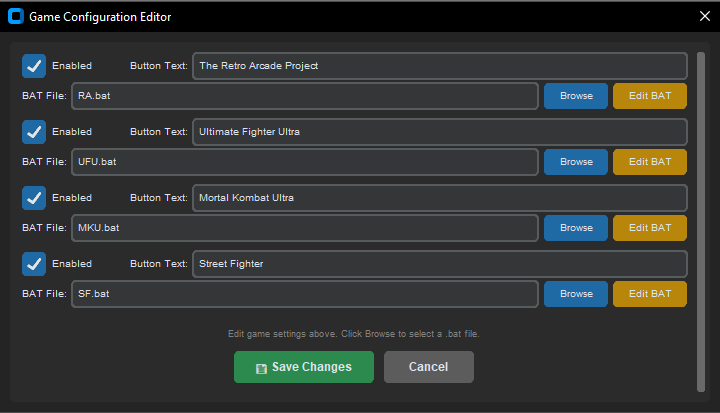
Exe is a (False Positive)
Updated 07/12/2026
Python App That Launches Your Switch Games
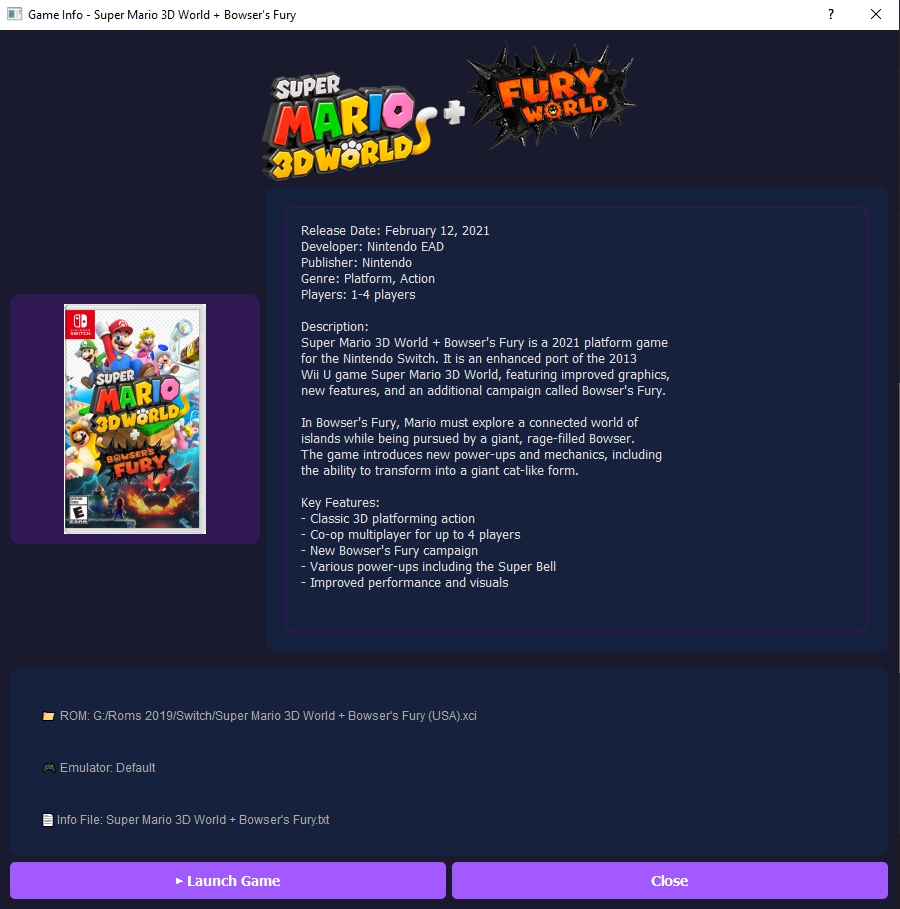
Game Info When You Click on The Game Cover
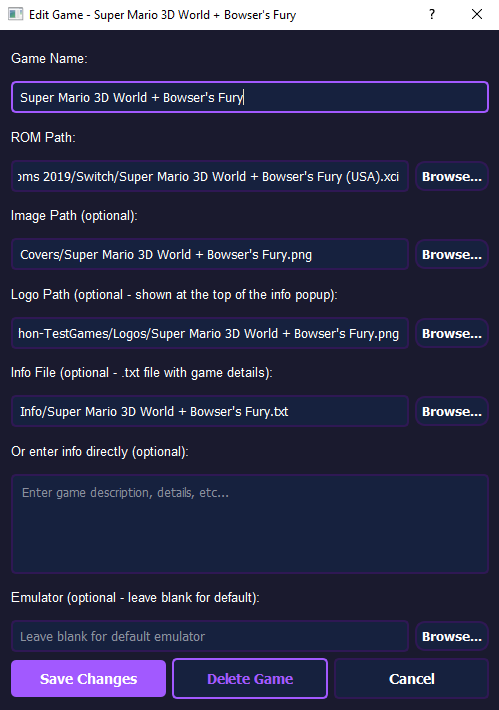
Edit Game Info
Exe is a (False Positive)
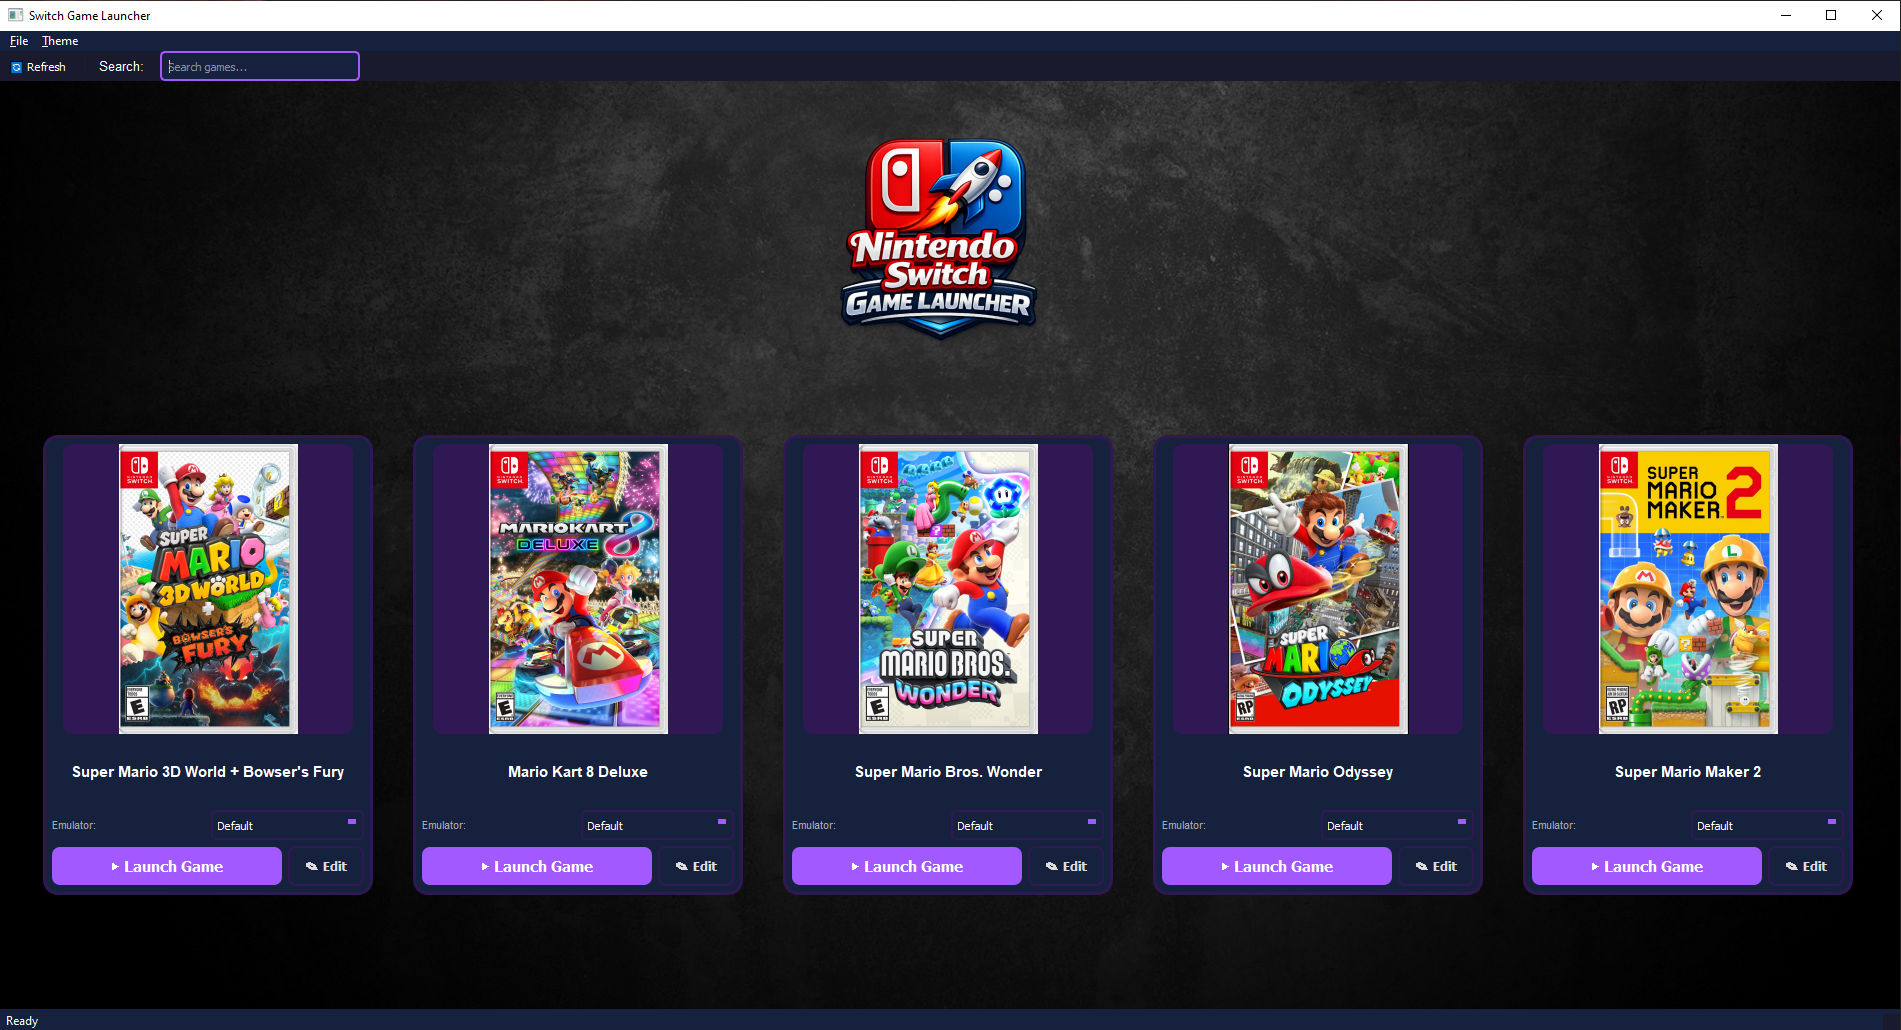
A desktop game launcher built with PyQt5 for organizing and launching Nintendo Switch ROMs through an emulator (Ryujinx or Yuzu). Games are shown as a grid of cover-art cards with per-game info popups, custom logos, editable emulator selection, and a handful of dark color themes.
## Features
- **Game grid** — large cover-art cards with name, emulator selector, Launch, and Edit buttons
- **Search** — filter the grid by game name as you type
- **Game Info popup** — shows a game's logo (or falls back to its name), cover art, and a description pulled from a `.txt` file or entered directly
- **Add / Edit / Delete games** — full dialogs for managing your library, with file-existence validation on ROM, image, logo, info file, and emulator paths
- **Per-game emulator override** — use the default emulator, Ryujinx, Yuzu, or a custom `.exe`, per game
- **Color themes** — six built-in accent themes, switchable live from the menu bar, remembered between launches
- **Custom header logo** — replace the plain "Nintendo Switch Game Launcher" title text with your own banner image
- **Custom background image** — show an image behind the whole window instead of the flat dark background
- **Persistent config** — everything is saved to `games_config.json` next to the script/exe
## Requirements
- Windows 10/11
## Running
Switch-Launcher.exe
The first run creates a default `games_config.json` with a few sample games (edit or delete these from the app, or by hand in the JSON file).
## Folder layout
The app looks for its assets relative to the script's folder (or the `.exe`'s folder, if built with something like PyInstaller):
```
Switch-Launcher.exe
games_config.json # created automatically on first run
Covers/ # cover art, and the optional background image
Logos/ # optional per-game logos + the optional header logo
Info/ # optional .txt files with game descriptions
```
Folder names are case-flexible — the app checks both `Covers`/`covers`, `Logos`/`logos`, etc.
### Cover art (`image_path`)
Set per-game when adding/editing a game. Looked up in the script folder, an `images` folder, or wherever the path points.
### Game logos (`logo_path`)
An optional banner image shown at the top of a game's Info popup, above (instead of) its name. Drop the image in `Logos/` and set the **Logo Path** field when adding/editing a game.
### Header logo
Replaces the "Nintendo Switch Game Launcher" title text at the top of the main window. Drop an image into `Logos/` (or the script folder) using one of these filenames and it's picked up automatically — no config needed:
- `launcher_logo.png`
- `logo.png`
- `header_logo.png`
If none of these are found, the plain text title is shown instead.
### Background image
Shows behind the entire window (title area and game grid) instead of the flat dark background, scaled and cropped to fill the window (like CSS `background-size: cover`). Drop an image into `Covers/` (or the script folder, or an `images` folder) using one of these filenames:
- `background.png`
- `Background.png`
- `bg.png`
If none are found, the app falls back to the plain dark background. The background is loaded once at startup — restart the app after adding or changing the file.
## Themes
Open the **Theme** menu (next to **File**) and pick one:
- Switch Red (default)
- Ocean Blue
- Neon Purple
- Emerald Green
- Sunset Orange
- Monochrome
All themes share the same dark backgrounds — only the accent border and highlight colors (buttons, titles, hover states) change. Your choice is saved and restored on the next launch.
## Managing games
- **File → Add Game** — name, ROM path, and optionally cover image, logo, info file/text, and a per-game emulator
- **Edit button** on a game's card — same fields, pre-filled, plus a **Delete Game** button (only removes it from the list — no files on disk are touched)
- **Emulator dropdown** on a game's card — switch emulators per game without opening Edit
## Settings
**File → Settings** sets the default Ryujinx and Yuzu executable paths used when a game doesn't specify its own emulator.
You can hand-edit this file (e.g. to bulk-add `logo_path` entries for existing games) as long as the app isn't running when you save it.
Emulator v.1.3.3 Complete With Firmware + Keys v.22.5.0
Layout Code Generator + CFG Generator "Made With AHK"
UPDATED 07/27/25
"EXE is a False Positive"
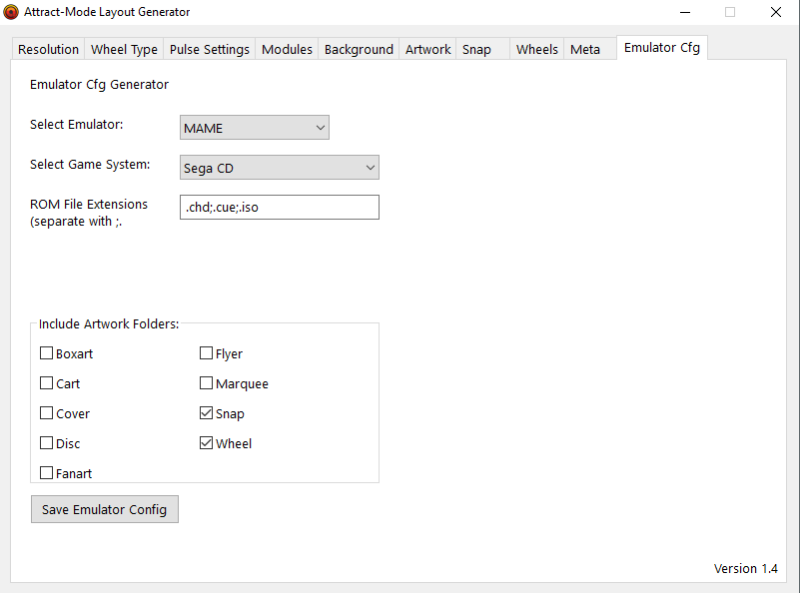
*Layout Generator*
Comes With a Data Folder With Lots of Txt Codes For Your Layout
*Resolution
-1920x1080 (only)
* Wheel Type
- Round or Vertical
- Startup Animation Time (500-2000)
* Pulse Settings
- Logo Pulse (Yes or No)
- Pulse Color (8 to Choose)
*Modules
- Pick The Ones You Need For Your Layout
* Backgrounds
- Background
- Fanart
* Artwork
- Boxart
- Marquee
* Add Snaps
- Select Snap
* Wheel
- Defferent Wheels
- Add pulse To Wheel
* Meta
- Add Defferent Types of Meta
* Generate Code (Makes layout.nut File With All The Code)
- Save As (Save layout.nut File To Any Folder)
- Exit App
-----------------------------------------------------------------------------------------
*Emulator cfg Maker*
-Mame (You Will Still Need To Add The Bios Files In The Roms Folder For Mame)
-Retroarch (You Will Still Need To Add The Bios Files In The System Folder For Retroarch)
*Select Game System
-In The Dropdown
*Rom File Ext.
-Make Sure You Add . Before Your Ext. Like So .zip
-If You Want To Add More It Would Be Like This .zip;.7z
*Artwork Folders
- Check What Folders You Want To Add In The cfg
*Save Config File
- Once You Click Save It Saves It As The Game System You Choose Like Arcade.cfg
Place These cfg Files In Your Emulators Folder In The Root Of AM+
This Was Made With AutoHotKey And DeepSeek
* Version 1.5b
*Updated 09-10-24* Basic Layout Maker v.2.1c "Made With Python"
"EXE is a False Positive"
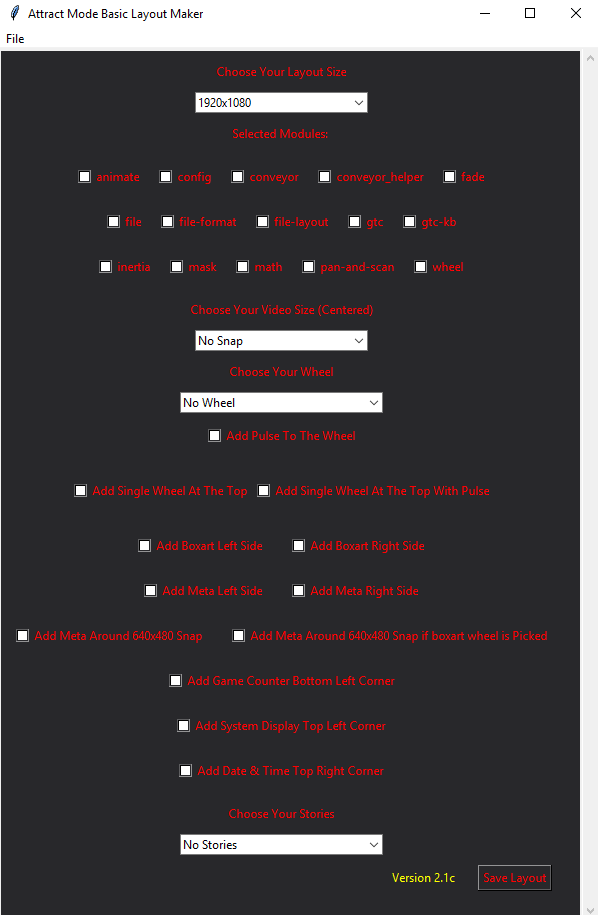
Basic Layout Maker v.2.1c
For Attract Mode +
1.Pick Your Layout Size. 1920x1080 For Now.
2.Pick The Modules You Want To Use. *Tooltip Added To Each*
3.Pick Your Video Size. This Puts It In The Middle Of The Screen.
4.Pick The Wheel You Want To Use. *Must Select The Wheel Module* 36 Wheels Added
5.Check If You Want To Have The Main Logo Pulse When Selected. *Must Select The Wheel Module*
6.Check if You Want To Add Boxart. Left or Right Side.
7.Check if You Want Meta Added Left Or Right Side Of Boxart.
8.Check if You Want Meta To Go Around The Snap.
9.Check if You Want a Game Counter.
10.Check if You Want To Add System Display.
11.Check if You Want To Add Date & Time.
12.Pick if You Want Stories Left or Right Side.
13.Click on Sample Gallery Button To View Sample Layouts.
14.Save The Layout To Your Layout Folder Of Choice. Make Sure To Name It Layout.nut.
15.Added Other Tools That I Made. Romlist Editor, Retroarch cfg Maker, Mame cfg Maker, And Added Sample Viewer
!!Also Added A Scroll Bar To The Right Side!!
This Is Just To Get You Started. Still Testing And Adding Other Stuff. ChatGPT Wrote Most Of The Code.
Made With Python And Pyinstaller. Antivirus Software Might Flag This As A False Positive And Delete It or Place It In Quarantine.
Ive Included a small build version 3.0.9 (B521) in the data folder you can place your new layout.nut files in the test folder just name them like layout1 and so on
you can switch between them by pressing T on the keyboard or Y on your controller.
*Thanks Tankman For Alot of The Wheel Code And Smithis For Typo Errors *

Create Your Own Website With Webador